Listen up folks, we’ve got some exciting news for all you nature enthusiasts out there! Get ready to don your tool belts and unleash your inner handyman, because we’ve compiled a list of frugal DIY projects that will transform your outdoor spaces into a nature-lover’s paradise. From creating your very own bird feeder out of recycled materials to building a rustic outdoor table from reclaimed wood, these projects will not only delight your feathered friends but also impress your fellow nature-lovers. So grab your trusty hammer, because it’s time to get crafty in the great outdoors!

This image is property of images.pexels.com.
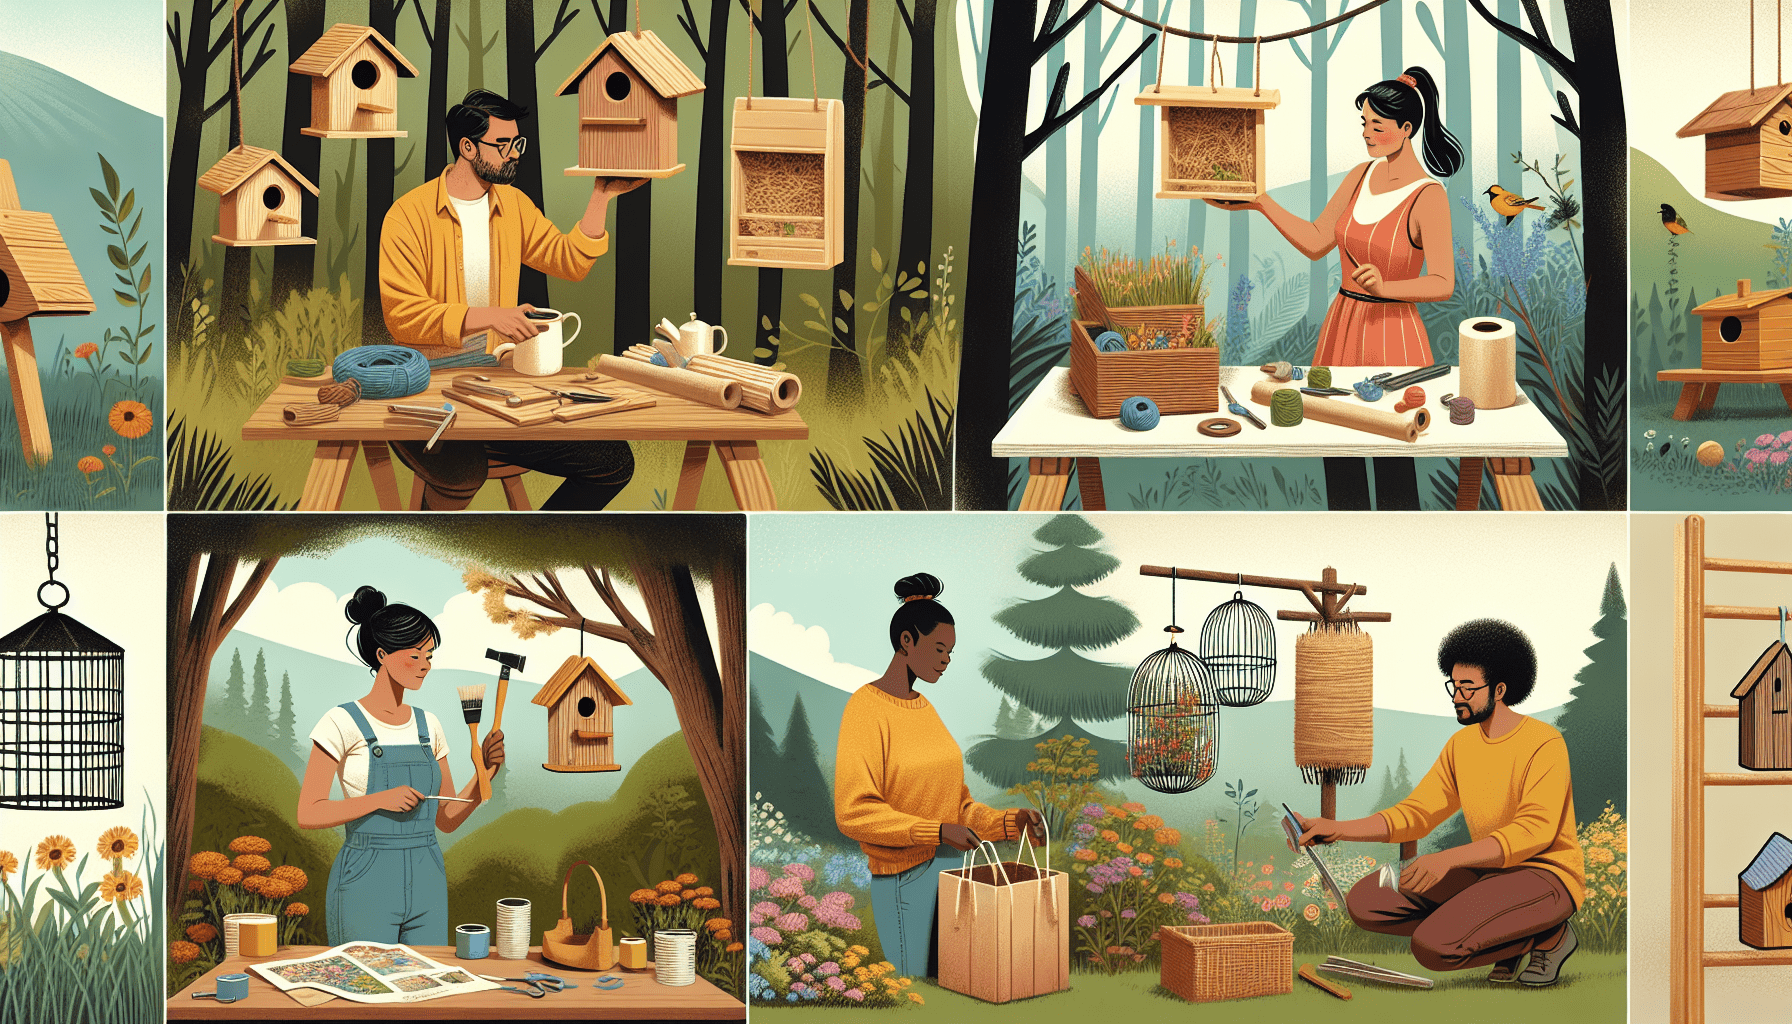
DIY Bird Feeder
Materials needed
- Empty plastic bottle
- Scissors
- String or wire
- Bird seed
Instructions
- Start by cutting a small hole near the bottom of the plastic bottle, large enough for birds to access the seeds.
- Make two small holes near the bottle’s top, opposite each other.
- Thread a string or wire through the holes and tie it securely, creating a hanger for the bird feeder.
- Fill the bottle with bird seed through the hole near the bottom.
- Hang the bird feeder outside, ensuring it is visible and easily accessible for birds.
Benefits
Creating a DIY bird feeder not only adds a touch of creativity to your outdoor space but also provides a valuable food source for birds. By attracting birds to your garden, you can enjoy their beautiful presence and also contribute to their survival by providing a reliable food supply.
Herb Garden
Materials needed
- Pots or containers
- Potting soil
- Herb seeds or seedlings
- Watering can
Instructions
- Choose a sunny spot in your garden or balcony for your herb garden.
- Fill the pots or containers with potting soil, leaving a little space at the top.
- Plant the herb seeds or seedlings according to the instructions on the packet.
- Water the herbs regularly, ensuring the soil stays moist but not waterlogged.
- Trim the herbs regularly to promote bushier growth and prevent them from flowering.
Benefits
Having your own herb garden allows you to have fresh, flavorful herbs at your fingertips whenever you need them while also adding beauty to your outdoor space. It’s a cost-effective way to enjoy a variety of herbs without having to purchase them from the grocery store.
DIY Insect Hotel
Materials needed
- Wooden or bamboo blocks
- Small logs
- Twigs and branches
- Pinecones
- Nails or wood glue
Instructions
- Start by selecting a sturdy wooden frame or box to hold the materials.
- Fill the box with a combination of wooden or bamboo blocks, small logs, twigs and branches, and pinecones, creating various compartments for insects.
- Secure the materials together using nails or wood glue.
- Place the insect hotel in a quiet, sheltered area of your garden where it is protected from the elements.
- Watch as insects make their home in your DIY insect hotel.
Benefits
Building an insect hotel provides a safe and inviting habitat for beneficial insects such as bees, ladybugs, and solitary bees. These insects play a crucial role in pollination and pest control, making them valuable allies in maintaining a healthy garden ecosystem.
Nature Photography
Equipment needed
- DSLR camera or smartphone with a good camera
- Tripod (optional)
- Various lenses (optional)
- Camera bag or backpack
Techniques
- Composition: Experiment with different angles, perspectives, and framing to create visually appealing photos.
- Lighting: Take advantage of golden hour (early morning or late afternoon) for soft, warm lighting, or explore the dramatic effects of backlighting.
- Macro photography: Capture the intricate details of plants, insects, or other small subjects by using a macro lens or setting on your camera.
- Landscape photography: Use a wide-angle lens to capture sweeping vistas and showcase the beauty of nature’s grandeur.
Tips and Tricks
- Take your time and explore your surroundings. Patience is key in capturing the perfect shot.
- Experiment with different camera settings, such as shutter speed and aperture, to achieve the desired effect.
- Consider using a tripod for stability, especially when shooting in low light conditions or for longer exposure times.
- Don’t be afraid to get creative and think outside the box. Nature offers endless opportunities for unique and captivating photographs.

This image is property of images.pexels.com.
DIY Nature Journal
Materials needed
- Notebook or sketchbook
- Pens, pencils, and markers
- Colored pencils or watercolor paints (optional)
- Glue or tape (optional)
- Stickers or decorative elements (optional)
Instructions
- Start by selecting a notebook or sketchbook that suits your preferences.
- Use pens, pencils, and markers to record observations, draw sketches, or write down thoughts and reflections.
- Add color to your journal entries using colored pencils or watercolor paints, if desired.
- Include pressed flowers, leaves, or other natural elements by attaching them using glue or tape.
- Personalize your journal with stickers, decorative elements, or even cutouts from magazines or printed materials.
Benefits
A DIY nature journal is a creative way to document your outdoor experiences while fostering a deeper connection with nature. It encourages mindfulness, observation, and reflection, allowing you to fully immerse yourself in the beauty of the natural world.
Hiking Trails
Must-have gear
- Comfortable, sturdy hiking boots or shoes
- Backpack
- Water bottle or hydration bladder
- Snacks and food
- Trail map or compass
- Sunscreen and insect repellent
- Basic first aid kit
Essential safety tips
- Always let someone know your hiking plans and estimated return time.
- Stay on marked trails and respect any trail closures or restrictions.
- Pace yourself and take breaks when needed to avoid exhaustion.
- Dress in layers and be prepared for changes in weather conditions.
- Stay hydrated and carry enough water for the duration of your hike.
- Be aware of your surroundings and watch out for potential hazards, such as loose rocks or slippery surfaces.
Selecting the right trail
- Consider your fitness level and hiking experience when choosing a trail.
- Research the difficulty level, length, and elevation gain of the trail.
- Take into account the season and weather conditions to ensure a safe and enjoyable hiking experience.
- Read reviews or ask fellow hikers for recommendations on scenic or unique trails in your area.
- Don’t be afraid to venture off the beaten path and explore less-traveled trails for a sense of adventure.

This image is property of images.pexels.com.
Outdoor Art Projects
Materials needed
- Canvases or painting surfaces
- Acrylic or watercolor paints
- Paint brushes and palette
- Colored pencils or markers
- Sketchbooks or paper
- Natural objects such as leaves, rocks, or flowers (optional)
Instructions
- Set up your art supplies in a comfortable outdoor space, such as a patio or garden.
- Choose your preferred medium, whether it’s painting, drawing, or mixed media.
- Let your surroundings inspire you as you create your artwork.
- Experiment with different techniques and styles to unleash your creativity.
- Incorporate natural objects into your artwork for a touch of nature’s beauty, if desired.
Ideas for inspiration
- Landscape painting: Capture the beauty of a serene countryside, majestic mountains, or a tranquil beach scene.
- Botanical illustration: Focus on the intricate details of flowers, leaves, or other plants.
- Collage: Use found objects or natural elements to create a textured, multi-dimensional artwork.
- Nature-inspired abstract: Let nature’s patterns, colors, and textures guide your abstract creation.
DIY Nature Scavenger Hunt
Materials needed
- Scavenger hunt list or items to find
- Pen or marker
- Paper or cardstock
- Small bags or containers for participants to collect items (optional)
- Prizes or rewards (optional)
Instructions
- Create a scavenger hunt list of natural items for participants to find, such as specific types of leaves, rocks, or animal tracks.
- Write or print the list on paper or cardstock.
- Distribute the scavenger hunt list to participants, providing them with a pen or marker to check off items as they are found.
- Set a time limit for the scavenger hunt and let participants explore their surroundings to find the items on the list.
- Gather everyone together at the end to compare findings and celebrate with prizes or rewards, if desired.
Setting up the hunt
- Choose a location with a variety of natural elements, such as a park, forest, or beach.
- Consider the age and abilities of the participants when creating the scavenger hunt list.
- Make the scavenger hunt more challenging by adding riddles or clues to lead participants to the items.
- Encourage participants to respect and observe nature while searching for the items on the list.

DIY Camping Gear
Materials needed
- Sewing machine or needle and thread
- Fabric
- Zippers
- Nylon webbing or straps
- Buckles or clips
- Foam or insulation material
- Grommets (optional)
Instructions for making gear
- Research and select the type of camping gear you want to make, such as a tent, sleeping bag, or backpack.
- Look for patterns or tutorials online or in camping gear books to guide you through the construction process.
- Gather the necessary materials based on the requirements of your chosen project.
- Follow the step-by-step instructions provided in the pattern or tutorial to create your DIY camping gear.
- Test your gear before using it in the great outdoors to ensure it meets your comfort and functionality needs.
Benefits of DIY camping gear
- Cost savings: Making your own camping gear can save you money compared to purchasing brand-name equipment.
- Customization: DIY gear allows you to tailor the design and features to your specific preferences and needs.
- Quality control: When making your own gear, you have control over the materials and construction methods, ensuring durability and functionality.
- Personal satisfaction: Completing a DIY camping gear project can give you a sense of accomplishment and pride in your outdoor skills.
DIY Wildlife Habitat
Materials needed
- Rocks and stones
- Logs and branches
- Native plants or wildflowers
- Birdhouses or nesting boxes
- Water source such as a small pond or birdbath
Instructions
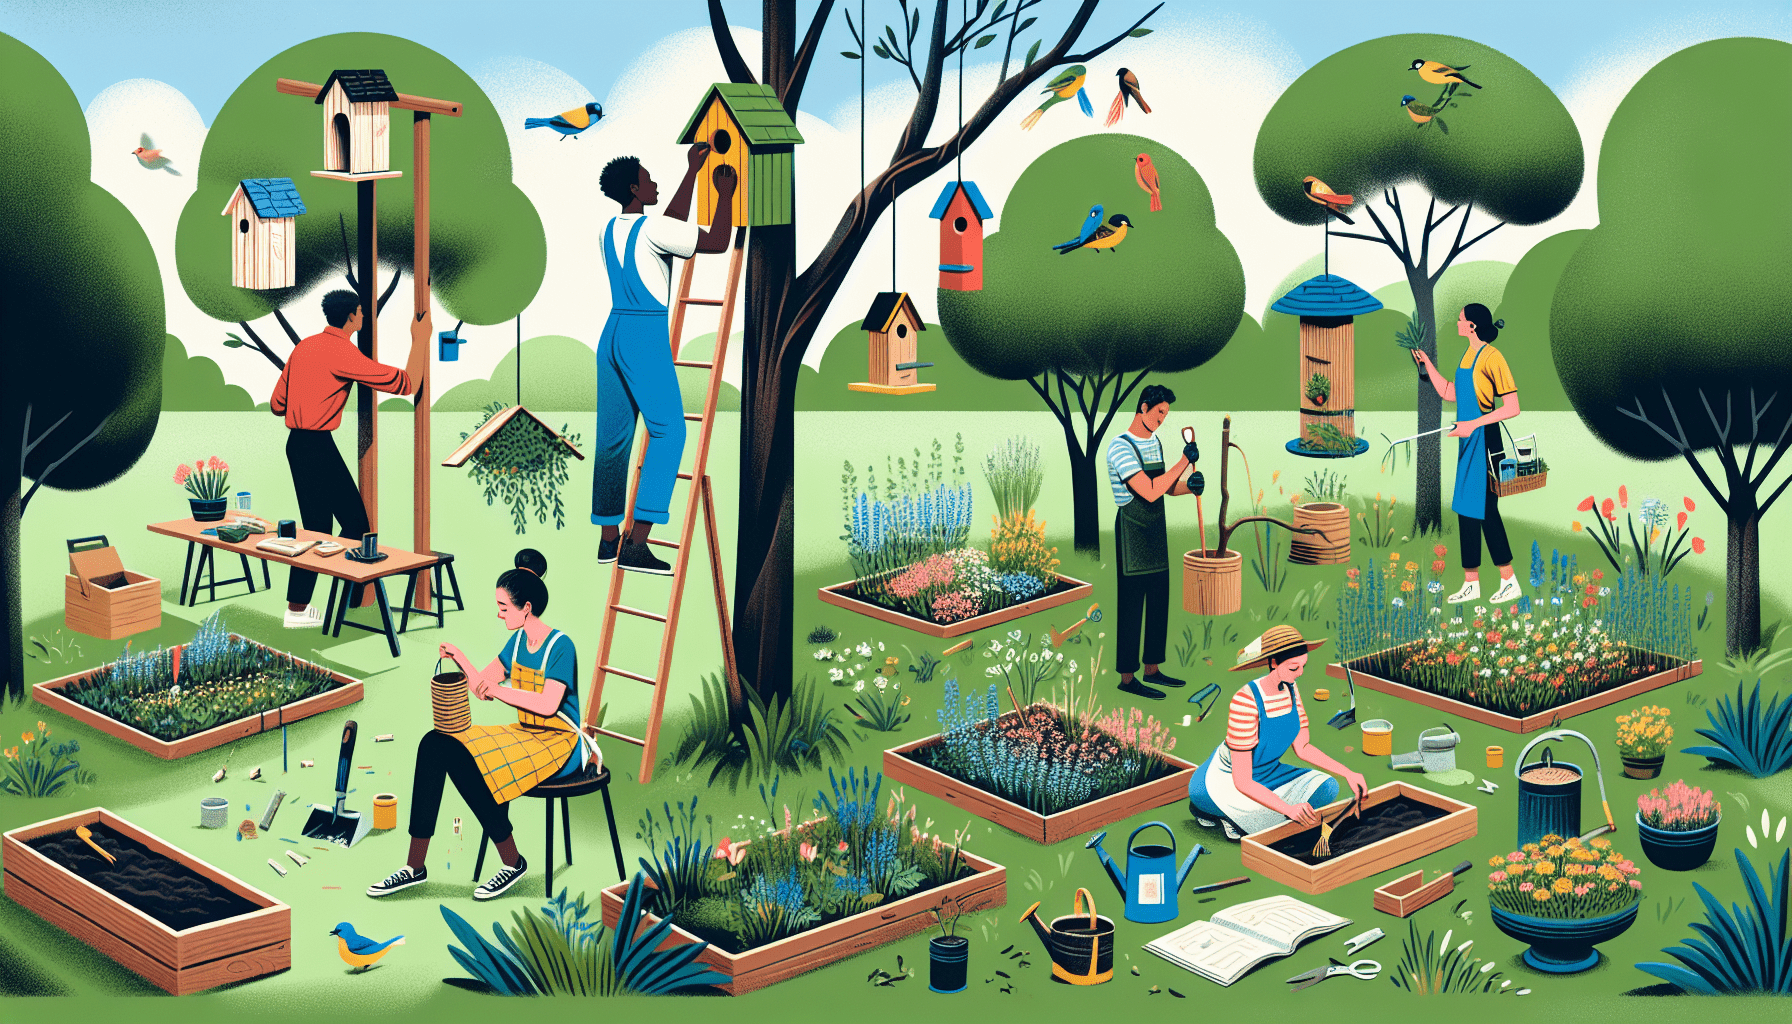
- Start by creating a suitable habitat for wildlife in your garden or outdoor space.
- Arrange rocks and stones to create hiding spots and shelter for small animals.
- Place logs and branches strategically to provide habitats for insects, birds, and small mammals.
- Incorporate native plants or wildflowers to attract pollinators and provide food and shelter for a variety of wildlife.
- Install birdhouses or nesting boxes to encourage birds to make your habitat their home.
- Provide a water source, such as a small pond or birdbath, for wildlife to drink and bathe.
Types of wildlife attracted
- Birds: By providing birdhouses and a water source, you can attract a variety of bird species to your wildlife habitat.
- Insects: Build a diverse insect population by incorporating logs, branches, and native plants into your habitat.
- Small mammals: Shelter and hiding spots created by rocks, stones, and logs will invite small mammals such as squirrels or hedgehogs.
- Pollinators: Native plants and wildflowers will attract bees, butterflies, and other important pollinators.
In conclusion, the great outdoors offers countless opportunities for frugal and creative projects. From building bird feeders and insect hotels to capturing the beauty of nature through photography and creating outdoor art, there’s something for every nature enthusiast. Whether it’s exploring hiking trails, journaling about your experiences, or engaging in DIY camping gear projects, these activities allow us to connect with nature, while also promoting sustainability and conservation. So, grab your materials and let’s get started on our next outdoor adventure!


